How to Create Realistic Photos in Midjourney: My First-Hand Experience
Learn how to create realistic Midjourney photos with camera, lens, natural lighting, and simple parameters that make AI skin look more natural.

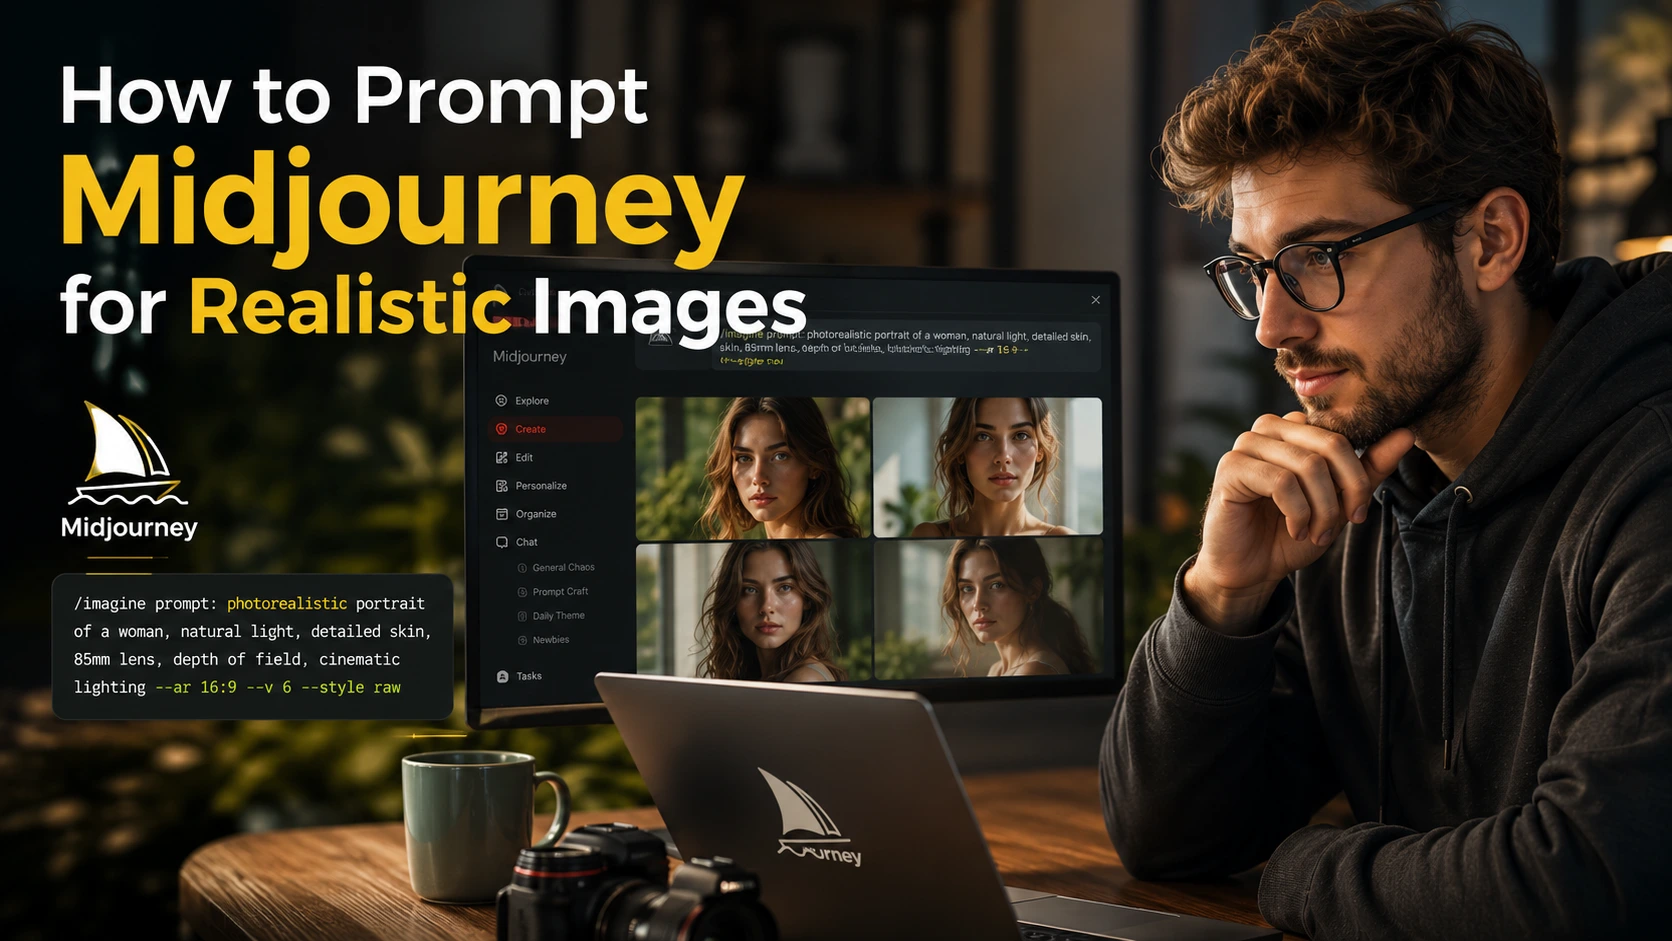
When I first started using Midjourney, I thought I just needed to add some big words to my prompt and I would get a realistic photo.
I often used words like “Photorealistic Portrait,” “8K HD Image,” “Hyperrealistic,” and “Masterpiece.”
But many times, I was disappointed with the results.
The photos looked good, but they did not look real. The face was often too clean and too shiny. The skin looked plastic. Sometimes, the whole face looked like a wax statue.
At first, I thought I was simply not writing the right prompts.
But after spending a lot of time with Midjourney, I learned something important.
You don’t need complicated words to create a realistic photo. You need to give Midjourney instructions like a photographer.
This small change made a big difference for me.
I started adding details about the camera, lens, lighting, environment, and natural skin texture. After that, I started getting much more natural-looking results.
In this guide, I am sharing the same method I learned while creating thousands of images in Midjourney and testing different prompts again and again.
What Did I Change First?
My biggest mistake was trying to tell Midjourney how “realistic” I wanted the photo to look.
Now, instead of simply saying how realistic the photo should be, I tell Midjourney how the photo was taken.
For example, my old prompt would look something like this:
“A hyperrealistic portrait of an Indian man, 8K, masterpiece.”
Now, I add details about the camera, lens, and lighting.
For example:
“A candid portrait of an Indian man, natural skin texture, shot on Canon EOS R5, 85mm lens, soft morning window light…”
This is where I started seeing a real difference.
The skin looked more natural. Small details started appearing on the face, and the whole image looked more like a photo taken with a real camera.
My 4-Step Formula for Realistic Photos
Whenever I want to create a realistic photo in Midjourney, I think about my prompt in four parts.
1. Start With the Subject and Action
I try not to make the character simply stand in front of the camera.
Showing the person doing something usually makes the image feel more natural.
For example:
- A tea seller making tea
- A person walking on the street
- A woman sitting near a window
- A farmer working in a field
I also describe small details about the face.
For example:
subtle wrinkles, natural skin texture, skin pores, freckles or slightly messy hair.
These small details can make the photo look more natural.
2. Describe the Location and Environment
Simply writing “Indian room” does not always give me the result I want.
So, I describe the place and environment in a little more detail.
For example:
“An old sunlit haveli in Jaipur, with subtle dust particles floating in the air.”
This helps create more than just a background. It gives Midjourney more details about the overall environment.
3. Add the Camera and Lens
This change worked really well for me.
I started adding camera and lens details to my prompts.
For example:
Camera: Canon EOS R5
Lens: 85mm prime lens
Aperture: f/1.8
If I want a street photo, I may use a 35mm lens. For portraits, I may use an 85mm lens.
In some prompts, I also add film-style details such as Kodak Portra 400 or 35mm film grain.
4. Set the Lighting
For me, lighting is an important part of a realistic photo.
Depending on the scene, I add details such as:
Golden hour lighting — warm evening sunlight
Soft window light — soft light coming through a window
Overcast lighting — soft light on a cloudy day
After that, I add the Aspect Ratio and other Parameters based on the image I want.
3 Ready-to-Use Prompts That Work for Me
If you want to test this yourself, you can start with these prompts.
1. Realistic Human Portrait
Prompt:
A candid street portrait of a 45-year-old Indian male tea vendor with subtle wrinkle lines, smiling softly, standing outside an old shop, natural skin texture, shot on Canon EOS R5, 85mm lens, f/1.8 aperture, soft morning sunlight, blurry background –ar 3:2 –style raw
2. Realistic Home Interior
Prompt:
Interior photograph of a cozy Indian living room, wooden furniture, large window with sunlight streaming through, subtle dust particles in the air, architectural photography, shot on Hasselblad H6D, wide-angle 24mm lens –ar 16:9 –style raw
3. Realistic Wildlife Photo
Prompt:
Close-up photograph of a Bengal tiger walking through a foggy jungle, morning dew on leaves, crisp focus on tiger eyes, soft blurred background, shot on 300mm telephoto lens, National Geographic style –ar 4:3 –style raw
If Writing English Prompts Is Difficult, Use ChatGPT
Not everyone is comfortable with camera and photography terms in English. I don’t always write everything from scratch either.
This is where ChatGPT can help.
You can simply give it your topic and ask it to create a prompt like this:
“You are an expert photographer. I want to create a realistic photo of [write your topic]. Write a Midjourney prompt for me with details about the camera model, lens, lighting, and natural skin texture. Add –ar 16:9 –style raw at the end of the prompt.”
ChatGPT can then create a prompt for you.
How I Use Image Prompt and Style Reference
This is another area where many people get confused.
Image Prompt and Style Reference (–sref) are not the same thing.
An Image Prompt uses your reference image for things such as the overall structure, face, and background.
A Style Reference focuses more on the mood, colors, lighting, and photography style of the reference image.
If I want to keep referring to the same person or scene, an Image Prompt can be useful.
If I want to maintain a similar visual style across different images, I find Style Reference more useful.
Midjourney uses parameters such as –iw for Image Prompts and –sw for Style Reference.
My Small Tips for More Realistic Photos
During my testing, I noticed one simple thing.
A perfect photo does not always look like a real photo.
Real people have small wrinkles on their faces. Skin is not perfectly smooth. Hair is not always perfectly styled, and clothes have natural folds.
So, I sometimes add these details to my prompts:
- natural skin texture
- skin pores
- subtle wrinkles
- freckles
- slight imperfections
- natural hair
- realistic fabric folds
I also use –style raw when I want a more natural look.
One More Important Thing: Aspect Ratio
I have found that using the same Aspect Ratio for every image does not always work well.
For portraits, I usually try –ar 3:2 or –ar 4:5.
For landscape images or website feature images, –ar 16:9 is more useful.
This helps me choose the right frame for the image.
Mistakes I Made So You Don’t Have To
1. Using Hyperrealistic in Every Prompt
I used to do this all the time.
Now, instead of simply writing “realistic,” I focus more on details such as the camera, lens, lighting, and skin texture.
2. Adding Too Many Words
At first, I thought a longer prompt would always give me a better result.
But that is not always the case.
Now, I first decide what I actually want to see in the photo and then add only the details that matter.
3. Ignoring Lighting
If I don’t describe the lighting, the result does not always look the way I want.
That is why I now consider lighting an important part of my prompt.
Midjourney Parameters That Can Help
| Parameter | What It Does | My Setting |
|---|---|---|
| –style raw | Helps create a simpler and more natural look | I use it for realistic photos |
| –s or –stylize | Controls how much artistic style is added to the image | I keep it low, such as –s 50 or –s 100 |
| –ar | Sets the Aspect Ratio of the image | 16:9 for landscape, 3:2 for portraits |
My Final Take
The biggest improvement I saw in my Midjourney results came when I stopped telling AI to simply “make a beautiful photo” and started giving it instructions like a photographer.
Now, whenever I write a prompt, I think about four things:
What is the subject?
Where was the photo taken?
Which camera and lens were used?
What kind of lighting is there?
Then I add the Aspect Ratio and –style raw based on the image I need.
If you are also getting plastic-looking photos in Midjourney, try using photography language instead of simply adding more words like “Hyperrealistic” and “8K.”
For me, this small change made the biggest difference.
Frequently Asked Questions
How can I create realistic photos in Midjourney?
Add details about the subject, camera, lens, lighting, and natural skin texture. You can also use –style raw and the right Aspect Ratio based on your image.
Does using “Photorealistic” make a photo look real?
Not necessarily. Simply using words like “Photorealistic” or “8K” does not guarantee a realistic photo. Camera, lens, and lighting details can be more useful.
How can I stop faces from looking plastic?
Try adding details such as natural skin texture, skin pores, freckles, and subtle wrinkles to your prompt. You can also test a lower Stylize value.
How can I create a blurred background in Midjourney?
Try adding photography terms such as 85mm lens, f/1.8 aperture, shallow depth of field, or bokeh background to your prompt.
Can ChatGPT create Midjourney prompts?
Yes. You can ask ChatGPT to act like a photographer and give it your topic. It can then create a Midjourney prompt with camera, lens, lighting, and natural texture details.